
Creating Events in Craft
If you'd rather see a video version of this tutorial, click here.
1. First, get your Craft account set up if you don’t already have one.
2. Once you’ve logged in, you’ll see the areas you have access to in the left column. Click “Calendar” to access the Calendar.
3. You’ll automatically see this month’s calendar and all the events that have already been entered — both on your calendar and on those of other users.
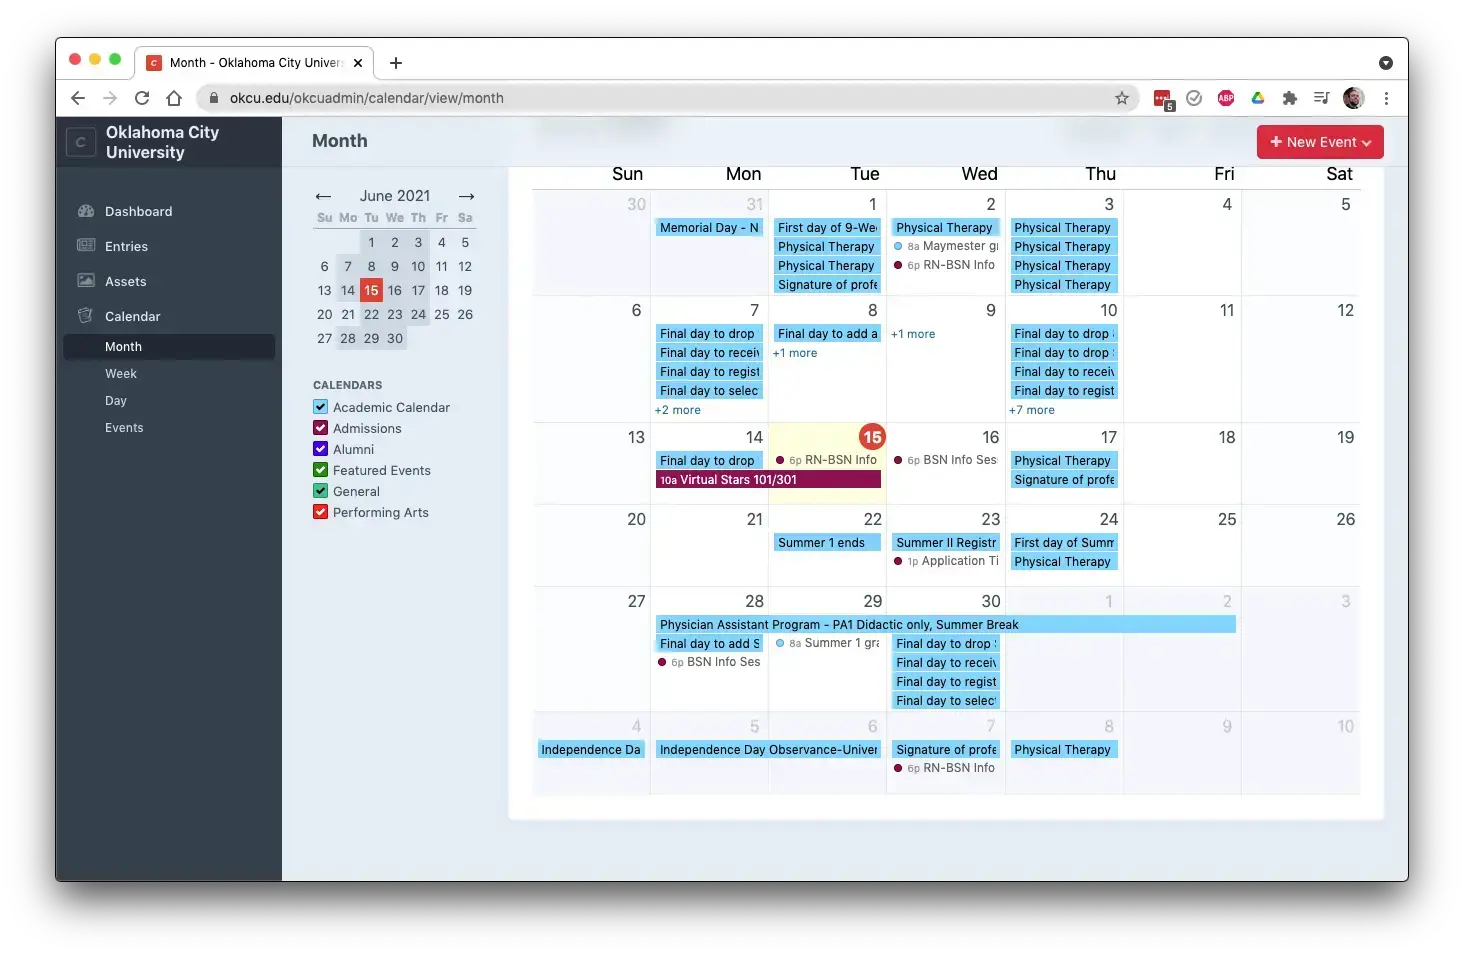
Before entering an event, make sure it hasn’t already been entered. You can scroll through the months using the arrow keys in the top right-hand corner.
TIP: If you have access to more than one calendar, be sure to click the arrow at the right of the button—this lets you choose which calendar you’re creating the event in. Be sure to do this—if you don’t, the event will show up in the earliest alphabetical calendar by default.

TITLE/DATE/TIME — Enter the event’s title, and choose a Start Date and End Date and Time. If your event lasts all day, click the “All Day” box before choosing the date.
RECURRING SCHEDULE — If your event is not an all-day event but does happen more than once, you can use the Recurring Schedule feature to specify the dates the event will recur.

SPECIFIC LOCATION — Building, address, room number, etc., where your event takes place.
If your event requires a registration form, you can embed the form in your event listing, or you can link to the form if it’s external.
REGISTRATION — If you’re linking to an external form, the text you enter in this field will appear in a button link on the completed page.
URL/FORM EMBED BUTTONS — Depending on which of these buttons you click, you’ll see a space to paste the link to your external registration page (URL) or a text box to paste the embed code for an externally hosted form (Google forms, for example).
 |
BODY TEXT — This body text field behaves like other body text fields in Craft — for more information on how those work, click here. You can upload photos for events as you would anywhere else, though please upload them into your website area’s photo folder or into the Calendar folder.
CUSTOM REPEAT TEXT — If your event is on a recurring schedule, you can customize the text that says so here. Leaving the field blank will result in a perfectly functional but weirdly phrased message detailing the recurrence of your event.
(NOTE: If you’re working on a smaller monitor, this box may be bumped to the bottom of the page. If you don’t see it at the top right, scroll down and look for it at the bottom.)
You’re done! Your event has been published. If you need to update or delete it, you can do so in Craft at any time.
